
Mini Pillow Ornaments
I am calling my newest project "Mini Pillow Ornaments" simply because they remind me of little pillows. If you have been following LTC for awhile, you know I often mix my love of pillows with my love of iron-on transfer paper. The evidence can be found HERE.
I used my Silhouette machine for this project but for those of you who don't own a Silhouette machine, you have options! You can purchase regular iron-on transfer paper at stores like Wal-Mart or Target.
I found the images I wanted to use in my Silhouette Studio. I used Silhouette heat transfer in dark pink and teal. After the cutting was complete, I cut around them and then peeled away the extra paper leaving only my cute images intact.

I ironed them onto squares/rectangles of muslin material. This is my go-to fabric as it is neutral, soft, and a bit textured. I also cut a second piece of muslin for the backing of each ornament.

I cut out each image leaving an extra 1/2 inch all the way around. Then with right sides facing each other, I put a string or ribbon of choice in a loop in between the two pieces of fabric upside down.

Next up was the pinning.

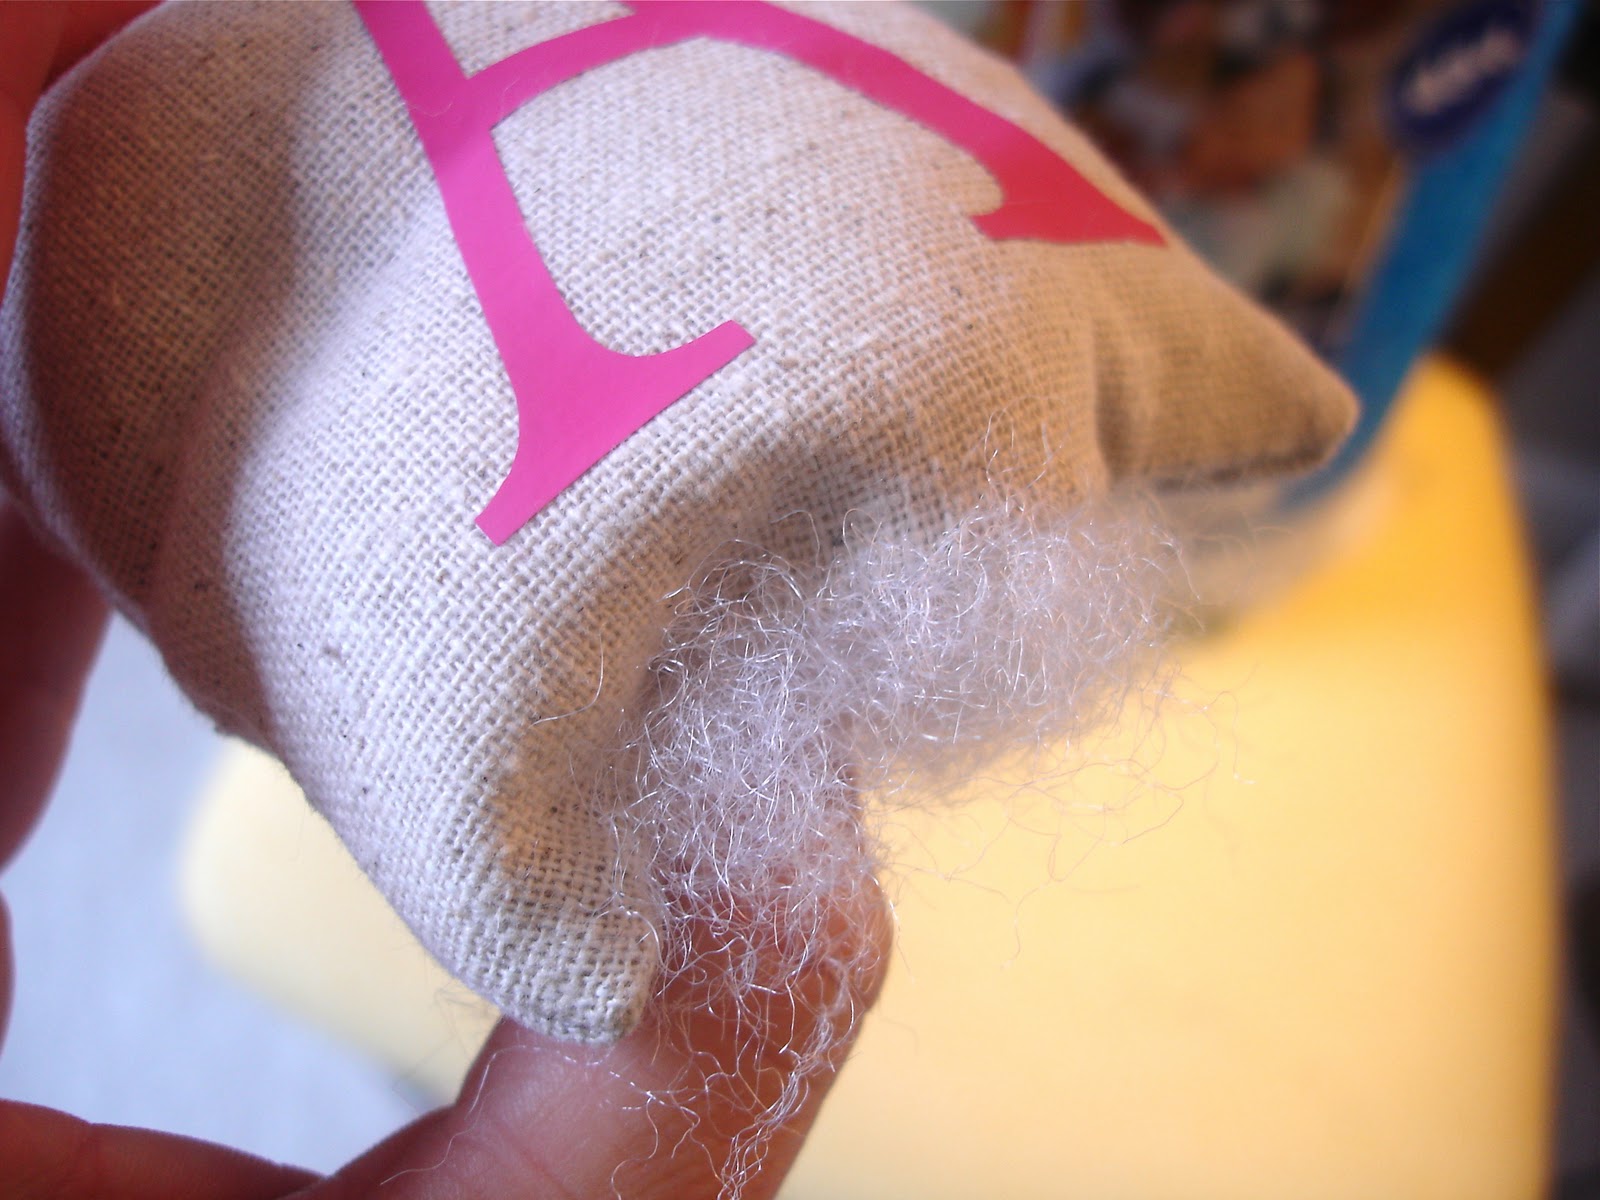
I left an opening at the bottom for stuffing purposes.

Pinking shears are so much fun, aren't they?

And of course, cutting corners is a must.

Then the little babies got all stuffed up.
And the bottom opening was stitched by hand.

I only got four done so far but now I can't wait to make more. I am so excited about these little ornaments! They will show up in my babies' stockings this year for Christmas.

Beware family and close friends, you will most likely be receiving one of these for Christmas!
Wouldn't they be so cute as a package topper?
I also can't get my mind off of how cute a tree would be covered in "Mini Pillow Ornaments"!
Oh, the possibilities...
Whew...I better get busy.
Happy Tuesday!


6 comments:
Aw, they are really cute!
These are cute...I would like to offer a suggestion, if you don't mind. When you sew the opening closed, if you hold the needle sideways (right to left) rather than up and down, squeeze the fabric seam together and pick up fabric from the top, you will have created an invisible stitch, rather than an overcast. If done properly, you will not be able to see where the opening was! Try it!
Patti, Thanks so much for the suggestion! I need all the help I can get! : )
SUPER, SUPER CUTE!
These are incredible!! You are a master with the Silhouette studio designs! Great idea, they're perfect! :)
So cute!! I might have to make a few of these. You're definitely right....these would be amazing as package toppers!
Post a Comment