Monday, July 11, 2011

Anthropologie Inspired Vintage Yo Yo Dangle Earrings

I'm so excited about our guest blogger for today, Ashley from Little Miss Momma!

Picnik collagelmm

A few reasons to love Ashley: She's adorable, she puts together cute outfits and then takes flattering pictures of herself in them, she shows you how she accomplishes this stellar self-portrait feat, she's honest about her doubts and struggles as a mom, she has a secret that she shared bravely with her readers. Plus a million more! Truly, I get completely sucked into Ashley's blog every time that I visit, and end up circling around her past posts. She's sweet, funny, relatable, and has a cute kid that cracks me up.

Iusb 760x100 7543041

She also has the cutest Etsy shop! Check her out here.

Thanks for posting Ashley!


Anthropologie Knock Off
Vintage Yo Yo Earrings


Hi girlies! I'm Ashley {aka Little Miss Momma},


and I am super pumped to be guest posting today!


This is me:


And I started Little Miss Momma a year ago:


A blog where I talk about my life lessons as a momma-in-training

{with some crafting during nap time}.

If you've ever seen any of my tutorials,


then you know I love me a good knock off.


And naturally, one of my favorite sites to get ideas is Anthropologie.


I stumbled upon these beauties, and knew I wanted to try my own version.


{source: Anthropologie}


So I created a super simple vintage yo yo bobby pin tutorial:


I loved these bobby pins so much, that I became determined to find another fun use for my vintage yo yo's.


Anthropologie Inspired Vintage


Yo Yo Dangle Earrings:


Let's make a pair together, shall we.


Materials:


Two 1.5 inch diameter yo yo's


Two 8-10mm jump rings


Two earring attachments {available at your local craft store}


Pliers


Needle and thread


In my family, we have a Yo Yo quilt that has been passed down for 4 generations. It is made with vintage fabric, and it makes my heart swoon. The only problem, it has begun to tatter and fall apart. And the girls in our family have been trying to find alternate uses for the classic yo yo's. So I very carefully used a seam ripper to remove a handful of yo yo's from the outer edge of my blanket--to use on this vintage project.


Click HERE for a tutorial to make your own Yo Yo's.


And now, for the tutorial:


1. Use your pliers to connect the jump ring and the earring.


2. Thread your needle, tie a knot at the end, and pull the needle through the back side of your yo yo, in the spot you want your warring to dangle.


3. Now, sew the jump ring into place. I looped the thread around the jump ring about 10 times so that it was secure.


4. Complete the same steps on the second yo yo, and that's it.


Crazy easy, right!


Stop by Little Miss Momma any time and check out some of my other favorite tutorials like my Anthropologie Inspired Pom Pom necklace {no sew}, and my makeup tutorial.


I also have an Etsy shop jam packed with lots of goodies.


Use the code: HAPPY


for 15% OFF


Thanks so much for having me today!


xoxo, Ashley

Read more...

Friday, July 8, 2011

I ♥ Pickfair

I love Etsy.  Who doesn't, right?  

Have you heard of Pickfair?  It's a gem.  Trust me, I know a good Etsy shop when I see one.  Shops like this don't come along everyday and I believe they should be shared with the world.     


I am in the midst of planning my baby girl's first birthday party and Pickfair is helping to turn my vision into reality for the special day!

While their party planning stuff is completely fun and just what I had been looking for, they also sell gorgeous pillows.  Hello!  Party planning & pillows.  Two of my favorite things.  If you know me, you know my relationship with Pickfair was meant to be!

Just had to share some of the current eye candy from their shop.


Two things that make me want to shop here above other shops that also sell paper straws?  The fact that the photography showing off the items for sale is perfect.  Also the words on the main photo of each item  got me.  The little phrases are funny, cute, and show the character of the seller.  I would frame one of their photos.  They are that cute.


So these are the straws for my girls party and the cupcake holders.  I can hardly wait to use them.  They fit the party perfectly and I am so thankful to Pickfair for helping to give the party that extra level of cuteness!


The packaging will make you smile when it arrives.  So perfectly cute and fun!  


Seriously, you will love the sisters that run the shop too.  So sweet, prompt, and easy to work with!  If you have a party to plan or if you need amazing pillows to pretty up your home, Pickfair is the way to go!

And speaking of partying, check out our first link party here!  We are so excited to check out what our readers have been up to!  

Happy Friday!

Read more...

Thursday, July 7, 2011

There's still time to {Link Up} with Lemon Tree!!

 As if we didn't already know how talented our readers were, check out some of these great projects from our first LTC Link Party...

Check out this cute and colorful frame from A Glimpse Inside!

And how yum do these Creamsicle Cupcakes look? Find the recipe at Pressed Dow, Shaken Together!
Who isn't a sucker for Subway Art? Check out this great canvas from Once Upon a {Craft} Time.
I love this fabulous rosette pillow from Three Sisters too!

It's not too late to link up with us and show us your stuff! We'd love to feature you too. Be sure to stop by our Facebook Page for more Linky inspiration!!

Read more...

Our First {LTC} Link Party!

As you know, we girls here at Lemon Tree Creations love link parties! So...welcome to our first ever  link party!! We can't wait to see what great projects you have been working on. Remember to check back with us here and on Facebook, as we'll be featuring some of our favorite link-party projects throughout the week. We hope you'll link back to let others know you've been partying with us this month.


We hope you'll come back the first Thursday of every month and party with us! 
For now, happy linking!!


Read more...

Wednesday, July 6, 2011

Roadside Round-Up

After last week's post featuring our nursery dresser, I started to realize just how much stuff around our house was spotted on the side of the road! I think maybe it's time to take a look back to some of my favorite roadside projects this last year.

It all started with this sweet little desk. My husband didn't see the potential for this desk when it first showed up at our house. Who can blame him since he ended up putting in a lot of the leg work. I was so happy with the outcome!

Next came these windows. I had been wanting some windows for a while, and low and behold someone around the corner from my in-laws had thrown out perfectly good windows! They were just screaming for a project. 
A few months later this rocking chair caught my eye. It didn't have a seat, but the structure and the color was just too gorgeous to ignore. It now sits in our living room as one of my favorite accent pieces! I can't even imagine replacing it. How in the world did no one see the value in that fabulous craftsmanship? I have to say even though I had to pay $10 for this roadside find, it was WELL worth it!
And of course there is much more to say about the nursery dresser!
How have you turned another man's trash into your little treasures? Doesn't it feel good to be thrifty??

Happy Wednesday,

Read more...

Tuesday, July 5, 2011

Coffee Grinder Meets Frame

My Dad has collected coffee grinders and potato mashers for a long time now and inherited several from his parents.  My sisters and I got to pick our favorite.  I fell in love with this one because of the writing on front and the touches of red.  I think this one came from New Zealand and it actually works.

It has been hanging right here in our kitchen for awhile now.  I love it so much but I always felt like it was lonely on the wall and needed something more.


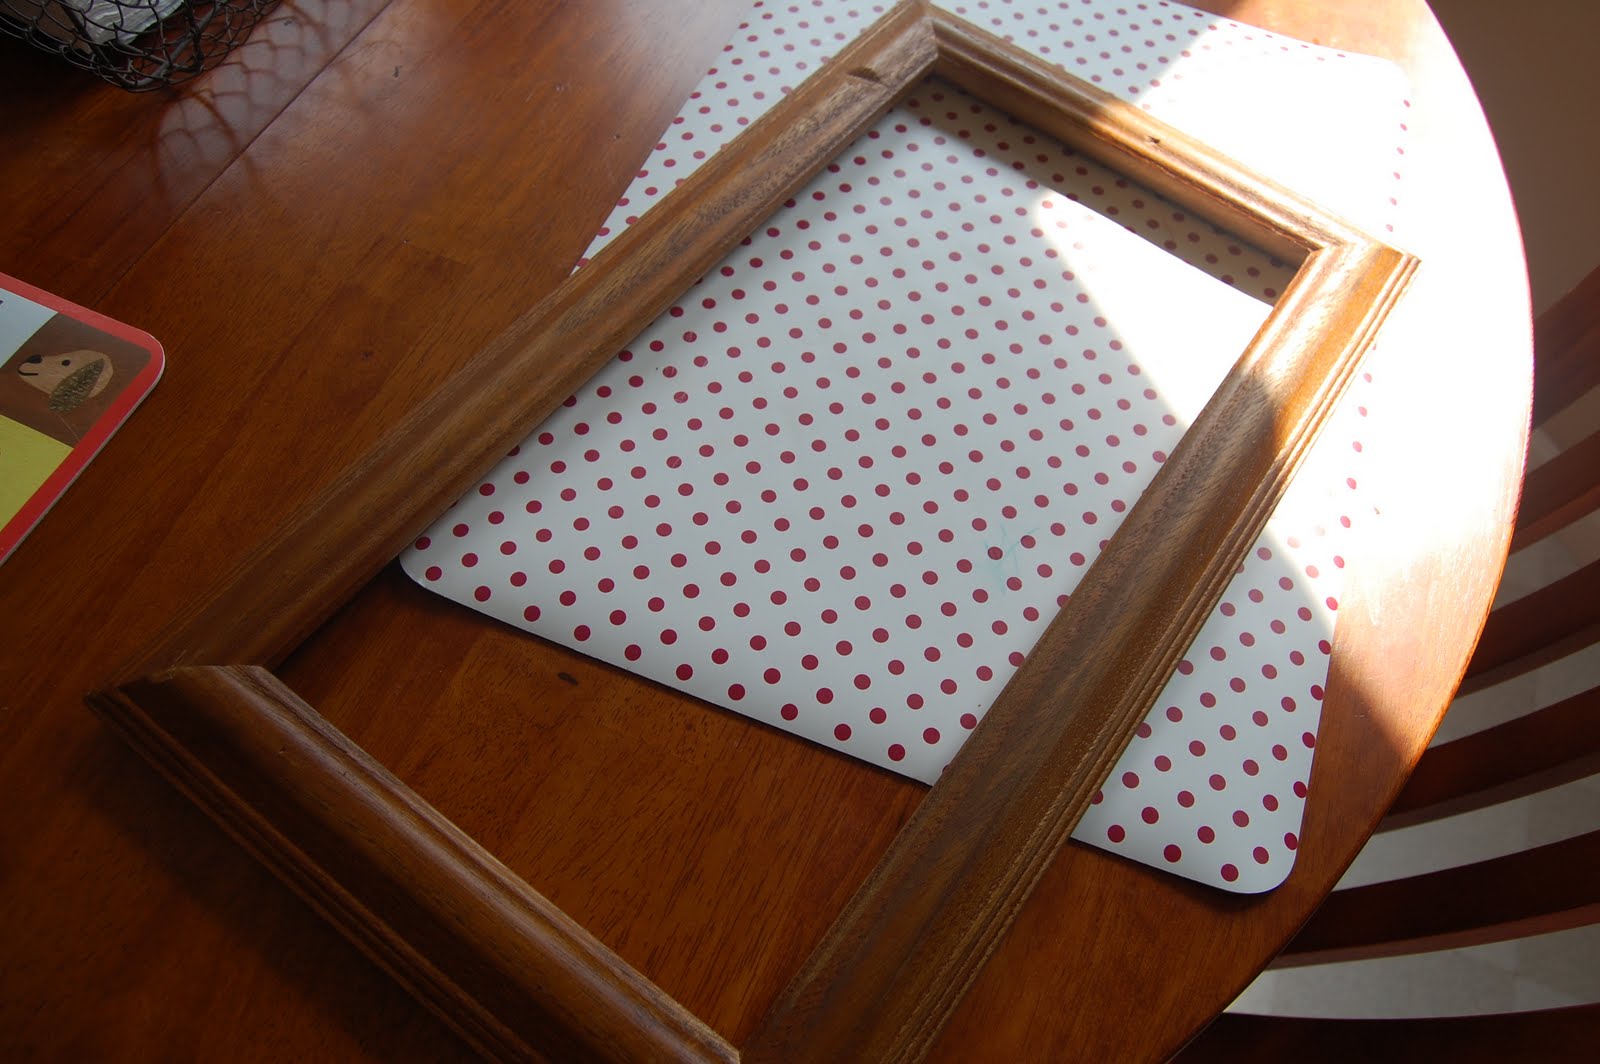
One day while browsing the clearance aisle at Hobby Lobby, I spotted this treasure...a rectangular wooden frame.  It was a little beat up which is just the way I like my frames.


The best part was that it was only $1.80.  That is a price I can handle.  I grabbed that baby up quick and went on my merry way.  I did not actually have something in mind for the frame but it was a great shape and a great price so I couldn't pass it up.


I got home and noticed my poor little grinder all lonely on the wall and a lightbulb went off in my head.  I grabbed the new frame and tried it on for size.  It was as if it was a long lost friend of my coffee grinder.  I coated the frame with black spray paint, sanded the edges, and hung it up immediately.


Oh, so much better.  I love it.

The moral of this story:  A frame can fix (al)most anything! 


So, if something looks lonely on your wall, consider "framing it up".

Thanks for stopping by!  I'll be linking at these parties this week!  

Happy Tuesday!


Read more...

Monday, July 4, 2011

Happy 4th of July!

Hey everyone!!

We just wanted to wish everyone a HAPPY 4th OF JULY!! Hope everyone is having a fantastic time celebrating!

0306 kids flagcupcake xl

(image from Marthastewart.com)

Also, once you are finished with your fireworks and barbecues this week, don't forget that we will be having our first every monthly Link Party THIS THURSDAY on Lemon Tree Creations. We love our readers and we love link parties, so we're excited to see the two come together!! Come back on Thursday and bring your favorite project to share with the other Lemon Tree Creations readers!

We'll be highlighting a few of our favorites and might even link to a few of your projects from our Lemon Tree Creations facebook page, so be sure to stop by for the fun!!

As always, happy Monday!!

E1025F317CFB5B8E9E5C526E5CC0F475 copy

Read more...

Saturday, July 2, 2011

And the winner is...

The winner of a Cutting Edge Stencil is...

#119


Congratulations to emerzim!


Send us your info and we'll pass it along to Cutting Edge!
  

Thank you to everyone who participated in the giveaway.  I am quite sure there will be more where this came from!

Happy Saturday!!!

Read more...

Friday, July 1, 2011

Lacing Letters {Americana Style}

I actually went to Home Depot to find a new paint color for my bedroom, however the only thing I ended up coming home with was a ton of the free paint swatches and decided to make one of the nifty banners I often see on tons of blogs.
I also decided just to spruce it up a bit by adding a simple lacing project to it. I'm sure most of you remember playing with these in school.

{It was pretty simple}


Things you'll need
Paint Swatches {free}
Hole Punch
Ribbon


I would just visualize where I would need a hole and punch punch I went.
It was a fun project and super easy.


I love the finished product! Definitely my style.


Thanks for stopping by! Have a Safe and Happy 4th of July!

Jessica

Read more...
Related Posts with Thumbnails