
Signed, Sealed, Delivered... Handstitched Mailbox Set
I have been lucky enough to have a few weeks off this summer to spoil, snuggle, and just enjoy my little one. This extra mommy/daughter time has given me many insights into what my babe is really into, and inspired me to make her this felt mailbox set.

I realized just how appropriate this toy would be for her at this age when I noticed her infatuation with the mailman and the envelopes he brings. She loves to check our mailbox on the way in the door to see if any treasures are there. Once I thought of this idea, I decided I would put my novice sewing skills to work to make something we could enjoy for a long while to come.
(And I warn you, my skills are EMBARRASSINGLY novice when it comes to handstitching. Just remember when you look at the pictures that these are all handmade, by MY hand, and are a bit more filled with love than skill!)
First things first, I went crazy at a craft store buying more felt than I could possibly require for a lifetime of projects.
(And I warn you, my skills are EMBARRASSINGLY novice when it comes to handstitching. Just remember when you look at the pictures that these are all handmade, by MY hand, and are a bit more filled with love than skill!)
First things first, I went crazy at a craft store buying more felt than I could possibly require for a lifetime of projects.

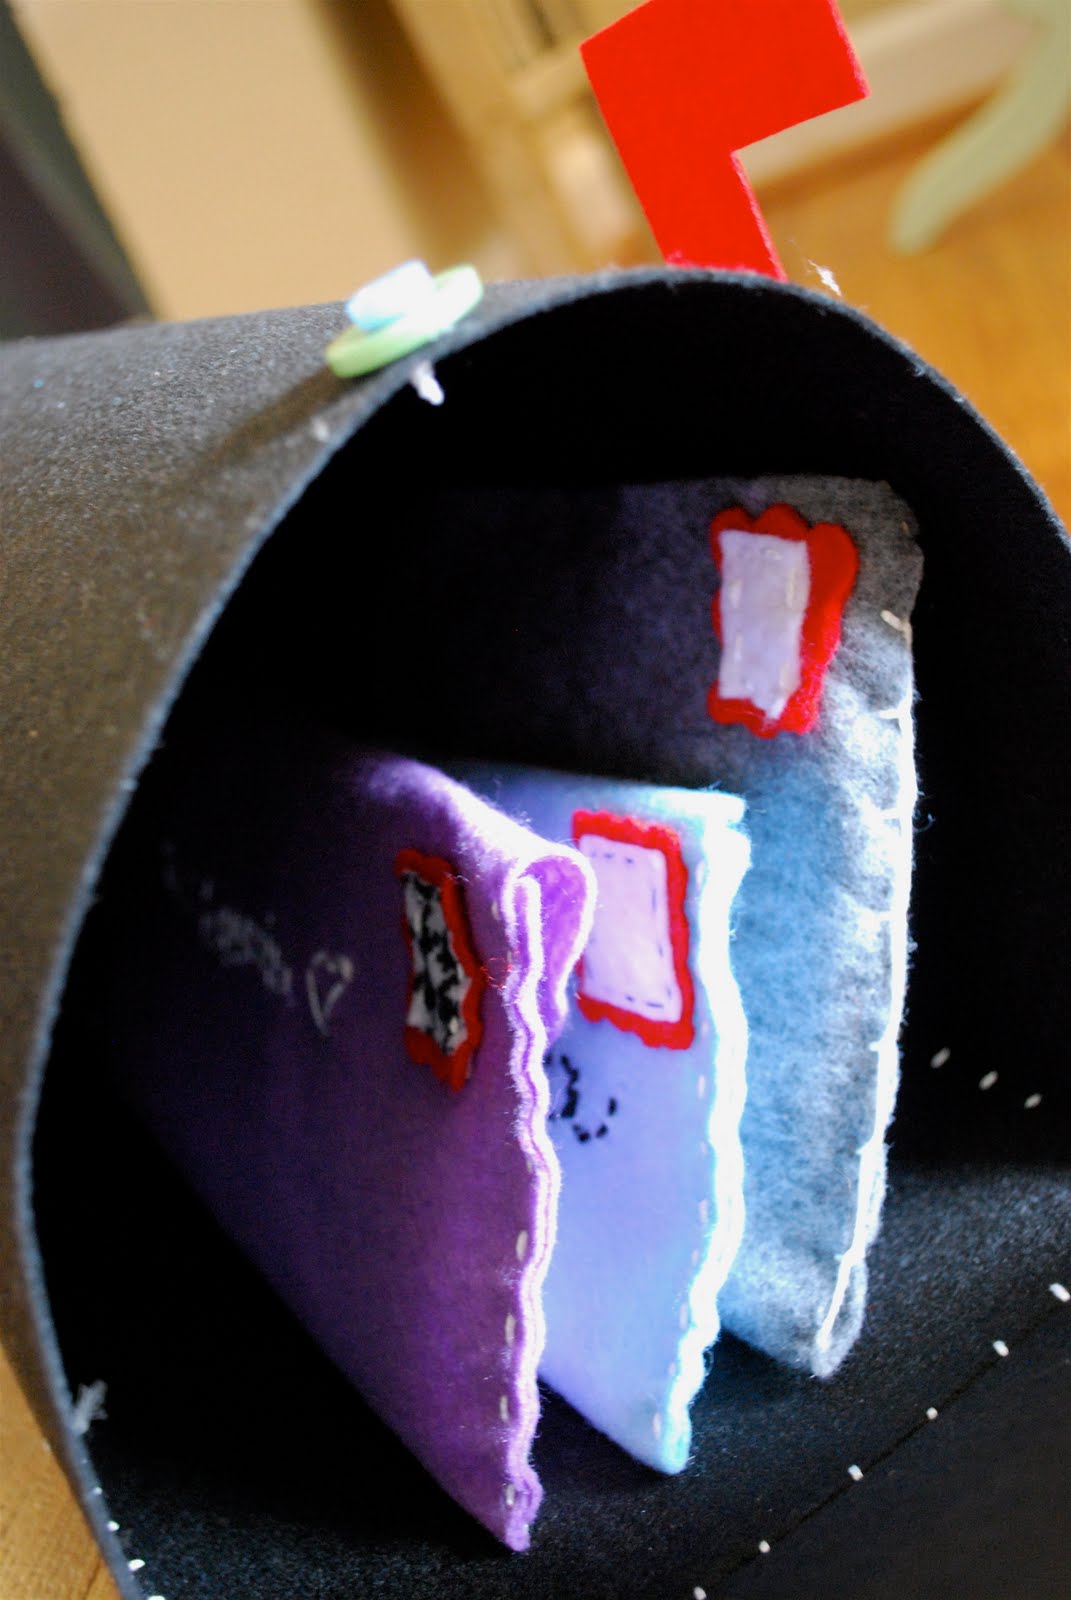
Then, I cut each color I wanted to use to an appropriate envelope size (which was completely eyeballed and never measured, oops!), stitched the sides, and sewed on velcro circles to fasten the envelope together.


Arguably my favorite part of each envelope is the little felt stamp I sewed to the fronts of each!

Next to create the actual mail I printed, that's right, PRINTED! each personalized message directly onto the felt. (Thanks Erin for your printing on fabric inspiration!)

The personalization of this project is really where I had the most fun. Each envelope is addressed to our daughter via a different knickname we all have fun her. The letters inside the envelope each match who is addressed on the outside. In addition, each letter is actually written by either her daddy or I, as something we hope she can someday read and hang onto for a long time to come.


Each envelope is a different shape and size and holds a special letter inside of it.


With all this cute mail, now all we needed was somewhere to deliver it!
To construct the mailbox I used two stiff pieces of 11x14 black felt. I kept one piece its original size and used the other for the base and end pieces.

I used a button hole stitch to connect the large piece to the base, and continued the stitch to attach the end pieces as well. It went very quickly and created a tight and secure stitch at the same time. Plus, it give the mailbox a certain homemade feel.


To close the mailbox door, I sewed on a double layer of buttons to the top of the mailbox and used elastic string to fasten the door.

For the mailbox flag, I again sewed on a button and then simply cut a slit into the stiff red felt with an exacto knife. This way we have a functioning mailbox flag that my daughter can move up and down.

I would say that I certainly am a rookie with a needle and thread. It's not like I haven't been using them forever, just that I never worked much on perfecting my skill. That being said, the mailbox and mail was put to the final test and approval, and passed with flying colors.


In the end, I didn't really care how straight my stitches were once I saw my little one playing with her new toy. And she could certainly care less too!

While this toy came in cheap, costing less that $10.00 to create, it was a labor of love and something I hope we can enjoy while playing together for years to come. And, with the personal letters, we have a keepsake I plan to hold onto long after my daughter's desire to "play" with it had passed.
I'll being sharing my excitement over my recent sewing success at these great parties this week. I hope you'll stop by and celebrate with us!
Happy Thursday!
 Read more...


