The winner of the 3 free kits from Makia Creations is lucky number 5!!
The Tylers!!
Send me an email and we'll get your kits out to you. Congratulations!!
Have a great weekend!!
The winner of the 3 free kits from Makia Creations is lucky number 5!!
The Tylers!!
Send me an email and we'll get your kits out to you. Congratulations!!
Have a great weekend!!
I was just scrolling around Flickr the other day, and was so excited to see some of the projects that you all have been working on!!
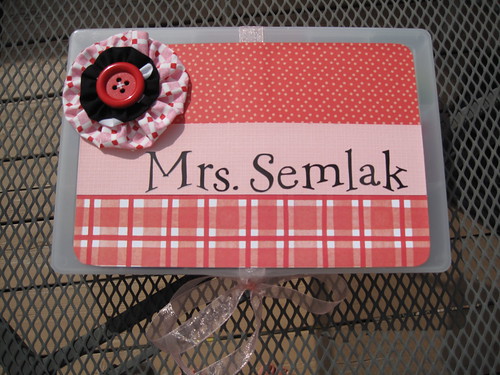
First up, some adorable School Supply Boxes by Ruthie T. They look great!

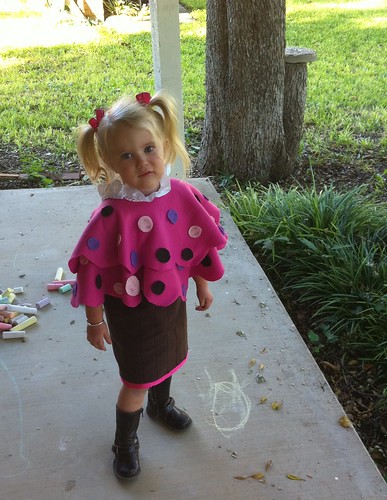
So many of you loved Patrice's No Sew Cupcake Costume, so I wasn't surprised to see a sweet little cupcake in the mix. Franzie99 made this adorable version for her little sweetie!

I was so excited to see that Alphabet Stew made herself some Potato Stamped Fall Pumpkins. They are perfect!!
Great job guys!!
Have you made a tutorial from one of Lemon Tree Creations' tutorials?
Don't forget to upload your pictures onto our Flickr site here (or there is always a link in the sidebar, just look for the Flickr symbol!)
Have a great weekend!!
 The materials I needed for this project literally came from my scrap bucket. Left over fabric, left over batting, an old frame with a broken glass insert, and a folder. That's it!
 First I cut the folder down to an 8x10 size (I used a folder because it was sturdy as well as handy.) Then, I mounted the quilter's batting onto the folder using hot glue (of course!).
 Next, I cut the fabric to size and hot glued it to the folder over the batting as well.
 Finally, I used a regular black paint pen to add our initial and personalize it. Then I just simply popped it back into the frame. Simple, simple, simple.
 I found some decorative push pins at a local "everything" store and used my new framed memo board in just the right office spot. What do you think? Do you have any scrap fabric lying around that could be transformed into a last minute gift? My frame is a little boring, I can just imagine the possibilities if you actually went out and purchased specific materials!
A Makia Craft Group is a way for you to get together with your friends and have fun doing something you love: making things!
Makia will help you plan, organize and host a successful craft group by simplifying every step. We’ll introduce you to artistic crafts and provide you with ready-to-make kits. Basically your group shows up and gets to the fun stuff. Less measuring, cutting, messes and clean-up.
In a Makia Craft Group you will enjoy escaping from the daily grind and household madness for a couple of hours and become part of a team that is passionate about creative home décor that is ahead of the curve. Makia makes it easy to host your friends for a fun, productive girls’ night out.
Working as a group helps you save time and money on the kits and helps create a group where personalities and ideas come to life.

Check out Makia Creations’s website www.makiacreations.com to view innovative products and see how you can launch a Makia Craft Group in your area.


I love projects like this. Fairly easy, but with a fun and beautiful result!
First, grab your little sweetie and go collect some leaves. Encourage him to grab a variety of colors, and be sure to do a lot of stomping through the very dry ones!
From here, the directions are simple. So simple, that I'm going to let the pictures speak for themselves.
Fun, right? I love the addition of the fall colors around my home and the crisp leaf silhouettes. It also drags out the season of the leaves changing, which always seems to end far too soon for me. I've had these leaves hanging in my home for a few weeks now and they have barely lost any of their color. I imagine it will all be gone by mid-November, but I'll be ready for Christmas decorations by then, so all is well.
I'll be linking to these fun parties! Are you up for some leaf garland for your home? Please share your results in our Flickr group!
Have a great week!!
The winner of the Cutting Edge Stencil is lucky number 43,
Jenna!
Congrats Jenna! Send me an email and I'll pass your information along and get you set up with one of those gorgeous stencils!!


