Book Page Eggs
One of my favorite spring decorations for my home are these fun book page eggs. It's easy enough to make a handful of them, so they are sprinkled around in a few different displays in my home.
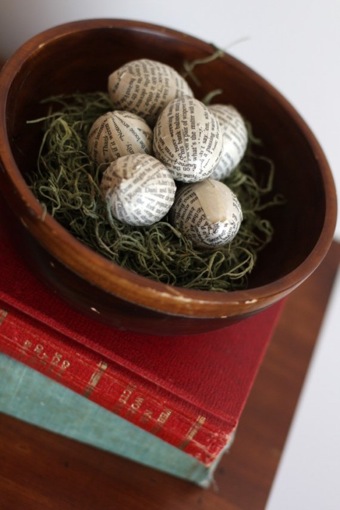
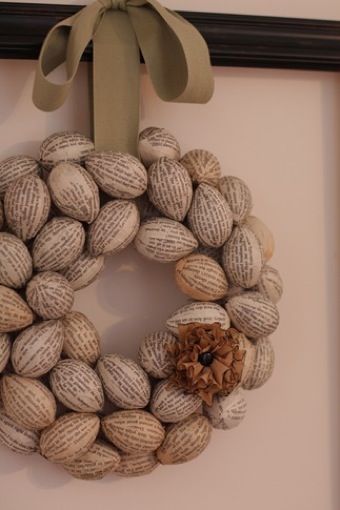
I also made a bunch last year and made them into a wreath, which I shared in my Framed Book Page Egg Wreath post. I just love it!! It's my favorite way to say "spring" or "Easter" without screaming it. Isn't it fun? Want to make your own?
I started off with a bag of tiny Easter eggs from Hobby Lobby for $.67 each, and there were about 25 in a bag.
I picked out a few old books with varying degrees of page yellowness, tore out some pages, cut the length a little longer than my eggs, and the width just long enough to wrap all the way around the egg. I used Mod Podge to glue the paper around the eggs and then set them aside to dry for 5 minutes or so. (I learned the hard way, that if you try to glue the paper on the whole egg all at once, the egg slides around in the paper and you get air bubbles. Don’t do this, you will become annoyed very quickly.) I had a little assembly line going with my eggs, which was a good way to give the eggs a little time to dry in between the steps, and helped me not to waste any of those precious naptime minutes.
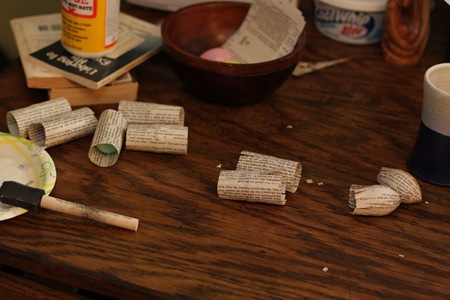
Once the middle section was dry and could be a sturdy base, I cut slits on each end of the paper, and pushed them down so that one side of the egg was exposed.
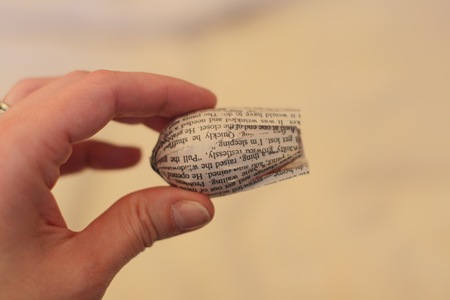
Make sure that when you are pushing down the slits, that you peel them down just a bit further, ripping the paper a little. This ensures that they will lie flat when you are smoothing them down against the egg, and there won’t be any air pockets.
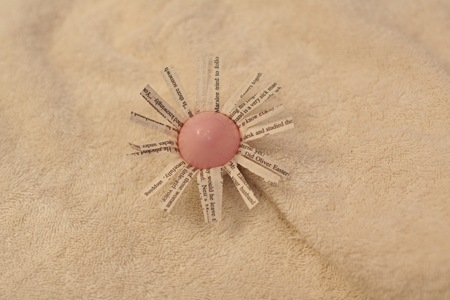
Otherwise it will look like this in the end. Not so pretty.
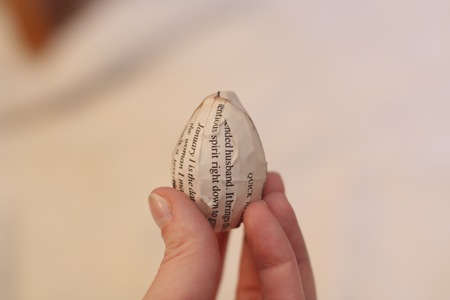
Once the paper is pushed down, smear the top of the egg with a good bit of Mod Podge. I used the Matte finish, so it didn’t matter if it got all over the top of the paper. Use your thumb to push down a few of the pieces at a time, smoothing them so that they lay flat and overlap a little.
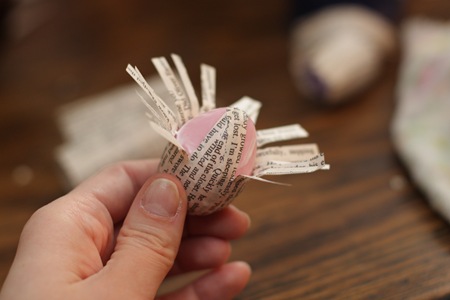
Top with more Mod Podge, and smooth down the next few strips, working your way around the egg.
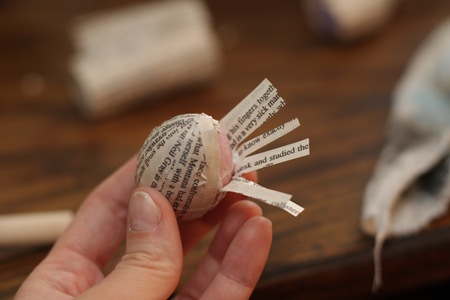
You will end up with a nice little overlap, and if you’ve been smoothing it out with your thumb as you go it will look great!
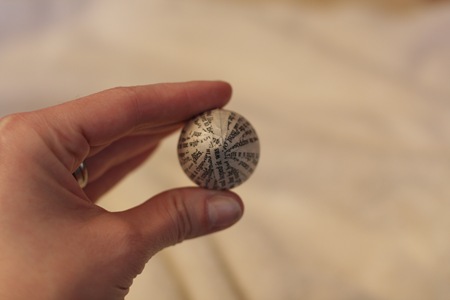
And there you have it!! Make enough to sprinkle them around your home. They're neutral enough to go with any type of decor and add a bit of fun whimsy to your Easter decorations!
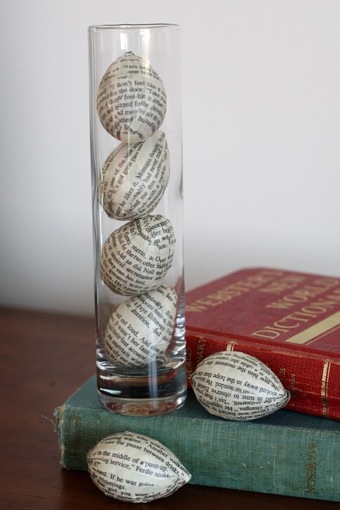
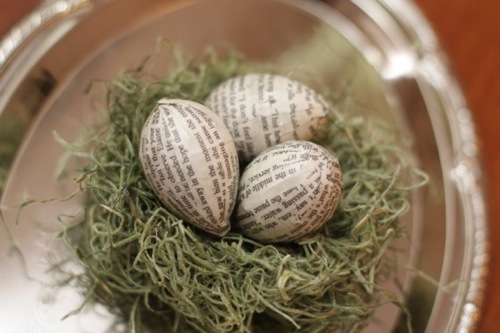
I'll be linking to these fun parties this week, so check them out!
Also, I'll be posting on Tatertots and Jello this Wednesday, so drop by to say hi to Jen and see what fun project I'm sharing there. And I'll see you back here on Monday!





30 comments:
great tute.... thank you for sharing.
Thank you for sharing. Finally a good use for those plastic eggs.
Please drop by our blog to enter a giveaway for six antique blue mason jars at www.theoldblockhouse.blogspot.com
Thank you so much for sharing this. They are just gorgeous!! I'm in love with that wreath too!! :)
I love this! I started to make the wreath last year with an old book that my mom said she no longer wanted. As I was covering the eggs I started reading the pages and noticed some extremely inappropriate words...at least they were not words I would want on my wall at Easter!
I think I might try again this year...with a different book.
way too cute. thanks for sharing the tutorial!
These are great! I've been wondering what to do with the little plastic eggs that I have... and now I know!
i love book pages, these are adorable!
-caroline
I really like these. It is a great way to celebrate spring without plastic eggs everywhere.
super cute - and I can see so many different used for these book page eggs...cool idea. TFS
tina
embellishments by tina
Lovely! Thanks for sharing, please stop by and say hi sometime.
Darling variation on the typical easter egg wreaths. You are one patient woman! I think I would quit after the third egg. I love it!!! Wanna make one for my front door? You'll die when you see what happened to my sad little jelly bean topiary...
Jen
Yet another brilliant project. Thanks for sharing!
Oh my gosh -- these are great! I just did a bunch with twine and have a bunch left over so off I go to add these to my containers!
The best Easter Egg wreath that I have seen!
What an adorable idea!!
Love it! I saw your tutorial last year at Tatertots and Jello (stopping by today from tip junkie's link party) and it inspired me to try it out!
Here's my post about it:
http://holidaysnobs.blogspot.com/2011/03/bookpage-eggs.html
but my link is to Erin's personal blog I think...
Dot
Thanks for stopping by our blog AND leaving a sweet comment! I added our pictures to your flikr group, thanks again for the tutorial!
This is such a great idea! It has such a natural and rustic feel to it. Thanks so much for sharing!
Very classic. Thanks for sharing.
LOVE the wreath. So lovely!
!!! i love eggs ! thanks for sharing
Love this idea! so creative!
Visiting from Justsewsassy.com
You've been featured at this weeks Glam Party! And don't forget to grab a featured button off the buttons page!!
http://gigglesglitzandglam.blogspot.com/2011/04/tuesday-glam-party-23.html
OH!!! I LOVE LOVE LOVE!!!!! This is fabulous!!
Those are fun and I love how subtle they are. Thanks so much, I'll be linking.
These look great. I love all the different ways youve used them
Love this idea! thanks for sharing all the steps & tips :-)
Love this! I'm going to give this project a shout-out on 11 Magnolia Lane. Thanks--Christy
Thank you for being so generous with your gift!
Oh, great tutorial. I made some a few months ago to prepare for Easter, but did bit by bit, tiny pieces...this looks easier! I am inspired to make some more. Also used paper mache eggs purchases at a local crafts store. Duh, plastic eggs I already have around!! Love the wreath!
Post a Comment